VirtualBox
 After starting VirtualBox click new to create a virtual machine for your instant contiki environment. In the following step just click next to continue to set up of the VM.
 Give your VM a name, here I named it Instant contiki, and set the operating system to Linux and the version to Ubuntu. In the following step stay with the suggested default value for VM memory (384 MB in my case).
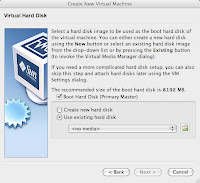 Choose use existing hard disk and click on the folder icon to the right of the drop down box to bring up the virtual media manager.
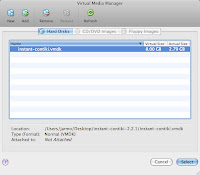 In the media manager click Add and navigate to the instant-contiki.vmdk file in the directory where you unpacked the instant contiki bundle. Once you are done your new virtual drive should appear in the list. Choose it and click the Select button. This brings you back to the Virtual Hard Disk dialog where you just click next to continue.
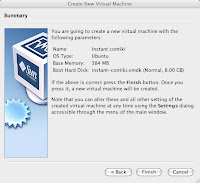 Your VM is now configured and you are shown a summary of the settings that you have made. Click Finish to add it to the list of Virtual Machines. From the list you can start your instant contiki VM by selecting it and clicking the start button in the toolbar.
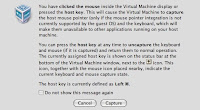 Sometime during the startup process this dialog, which explains how to get your mouse pointer back from the VM, is displayed. By default this is done by pressing the left command button but to avoid frustration be sure to take note of how to do it.
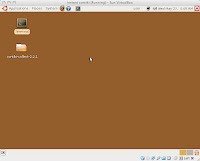 Now you have your instant contiki environment up and running and can start developing software. Note that the username/password for the linux installation is user/user. To learn more about how to use the environment or contiki pleaser refer to the Contiki site.


Your posts give me clear idea about it. I like your creative and detail note on the subject. I also visit your site to know more and more but i think it need some extra time to know perfectly about it.
ReplyDeletepst recovery